Angular Component Testing 1 - The Basics
by silver-mx
Recently I started writing automated tests in Angular, and something that bothered me was that I understood parts but not the test as a whole. This article gives a walkthrough of the skeleton of an empty component test as it includes important concepts that support more complex tests. Hope it helps ![]()
![]() Find the code for this article in Github.
Find the code for this article in Github.
The component under testing
We use a simplistic component that handles the shipping of online purchases. The shipping component allows the user to decide whether the shipment is picked up at a store or delivered to the customer’s home address.
Angular’s CLI ng g component shipping automatically creates the skeleton of a component and its unit test. This initial unit test looks as:
1
2
3
4
5
6
7
8
9
10
11
12
13
14
15
16
17
18
19
20
21
22
23
24
25

import { ComponentFixture, TestBed } from '@angular/core/testing';
import { ShippingComponent } from './shipping.component';

describe('ShippingComponent', () => {
  let component: ShippingComponent;
  let fixture: ComponentFixture<ShippingComponent>;

  beforeEach(async () => {
    await TestBed.configureTestingModule({
      declarations: [ ShippingComponent ]
    })
    .compileComponents();
  });

  beforeEach(() => {
    fixture = TestBed.createComponent(ShippingComponent);
    component = fixture.componentInstance;
    fixture.detectChanges();
  });

  it('should create', () => {
    expect(component).toBeTruthy();
  });
});
See below an explanation of the relevant parts:
![]() Check the Jasmine docs for detail about the keywords (i.e.,
Check the Jasmine docs for detail about the keywords (i.e., describe, beforeEach, it), in case you are not familiar with them.
Grouping all specs (line 4-6)
describe('ShippingComponent', () => {
  let component: ShippingComponent;
  let fixture: ComponentFixture<ShippingComponent>;
The describe block groups all the specs(tests). Note that the string ShippingComponent joins the description given to the spec from line 21. So our spec reads as: ShippingComponent should create.
![]() Name your specs wisely, as well written test can serve as documentation.
Name your specs wisely, as well written test can serve as documentation.
The lines below describe('ShippingComponent', () => { show the declarations of variables and constants used throughout the specs.
Compiling the component (lines 8-13)
  beforeEach(async () => {
    await TestBed.configureTestingModule({
      declarations: [ ShippingComponent ]
    })
    .compileComponents();
  });
beforeEach runs initialization that applies to all specs. The logic makes use of TestBed, a testing utility provided by Angular for constructing dynamically a test module that emulates an @NgModule. TestBed helps us to configure the environment to unit test a component, and to inject services and other dependencies required by the tested component (see TestBed docs).
TestBed.configureTestingModule({...}) creates a testing module to test our component. Angular applications are modular and contain at least one module(see NgModules). Modules serve as containers to include components, service providers, among others. A testing module normally receives the following metadata:
-
declarations: Defines the components, directives, and pipes belonging to the testing module defined underconfigureTestingModule(). Normally you include the component under testing,ShippingComponentin our example, but other classes can be included if needed. -
imports: Lists other modules whose exported classes are needed by the tested component. An example is Angular Material’s’s modules, which are imported when the tested component uses UI components likeMatSelect,MatInput,MatButtonin its template. -
providers: Lists creators of services not exported by modules listed inimports, and that are required by the tested component.TestBedinjects such services into the tested component via dependency injection. An example is a spy that gets provided/injected into the component for stubbing responses and isolating the component’s testing.
![]() The
The imports and providers sections are added in the second part, where we set the ShippingComponent’s dependencies.
TestBed.compileComponents(): Compiles all the components declared in the test module. It is an asynchronous operation, and that is why the function passed to beforeEach is marked as async. Note: CLI’s ng test compiles the application before running the tests (see Angular docs), thus calling compileComponents() is not required, but other scenarios may need it.
Instantiating a component (lines 15-19)
  beforeEach(() => {
    fixture = TestBed.createComponent(ShippingComponent);
    component = fixture.componentInstance;
    fixture.detectChanges();
  });
Once again we find a beforeEach block, but this time it receives a synchronous function.
TestBed.createComponent(ShippingComponent) is used to create a fixture. fixture is an instance of ComponentFixture, which is a test harness for interacting with the created component and its template. fixture.componentInstance gets an instance of ShippingComponent.
Further, ComponentFixture has DebugElement, which helps us to access and interact with the HTML elements declared in the component’s template.
Finally, fixture.detectChanges() tells the TestBed to perform data binding. Data binding means keeping the page up-to-date according to the application’s state. Note: normally, Angular performs change detection automatically when running an application. However, when testing with TestBed, change detection needs to be triggered manually to allow the developer to perform checks or assertions about the application’s state before the binding occurs.
Verifying the component instance (lines 21-23)
  it('should create', () => {
    expect(component).toBeTruthy();
  });
The spec verifies that fixture.componentInstance succeeded when creating a component instance. It is a handy spec because it signals when the TestBed is unable to provide all required dependencies to the component.
![]() If your spec fails, check that the metadata provided to
If your spec fails, check that the metadata provided to TestBed.configureTestingModule({...}) (i.e., imports and providers) satisfies the dependencies that your component’s implementation declares.
Running our test
It is time to see the results of our test. The test should run without errors considering that we have not modified the component yet. So running:
ng test --include=src/app/shipping/shipping.component.spec.ts
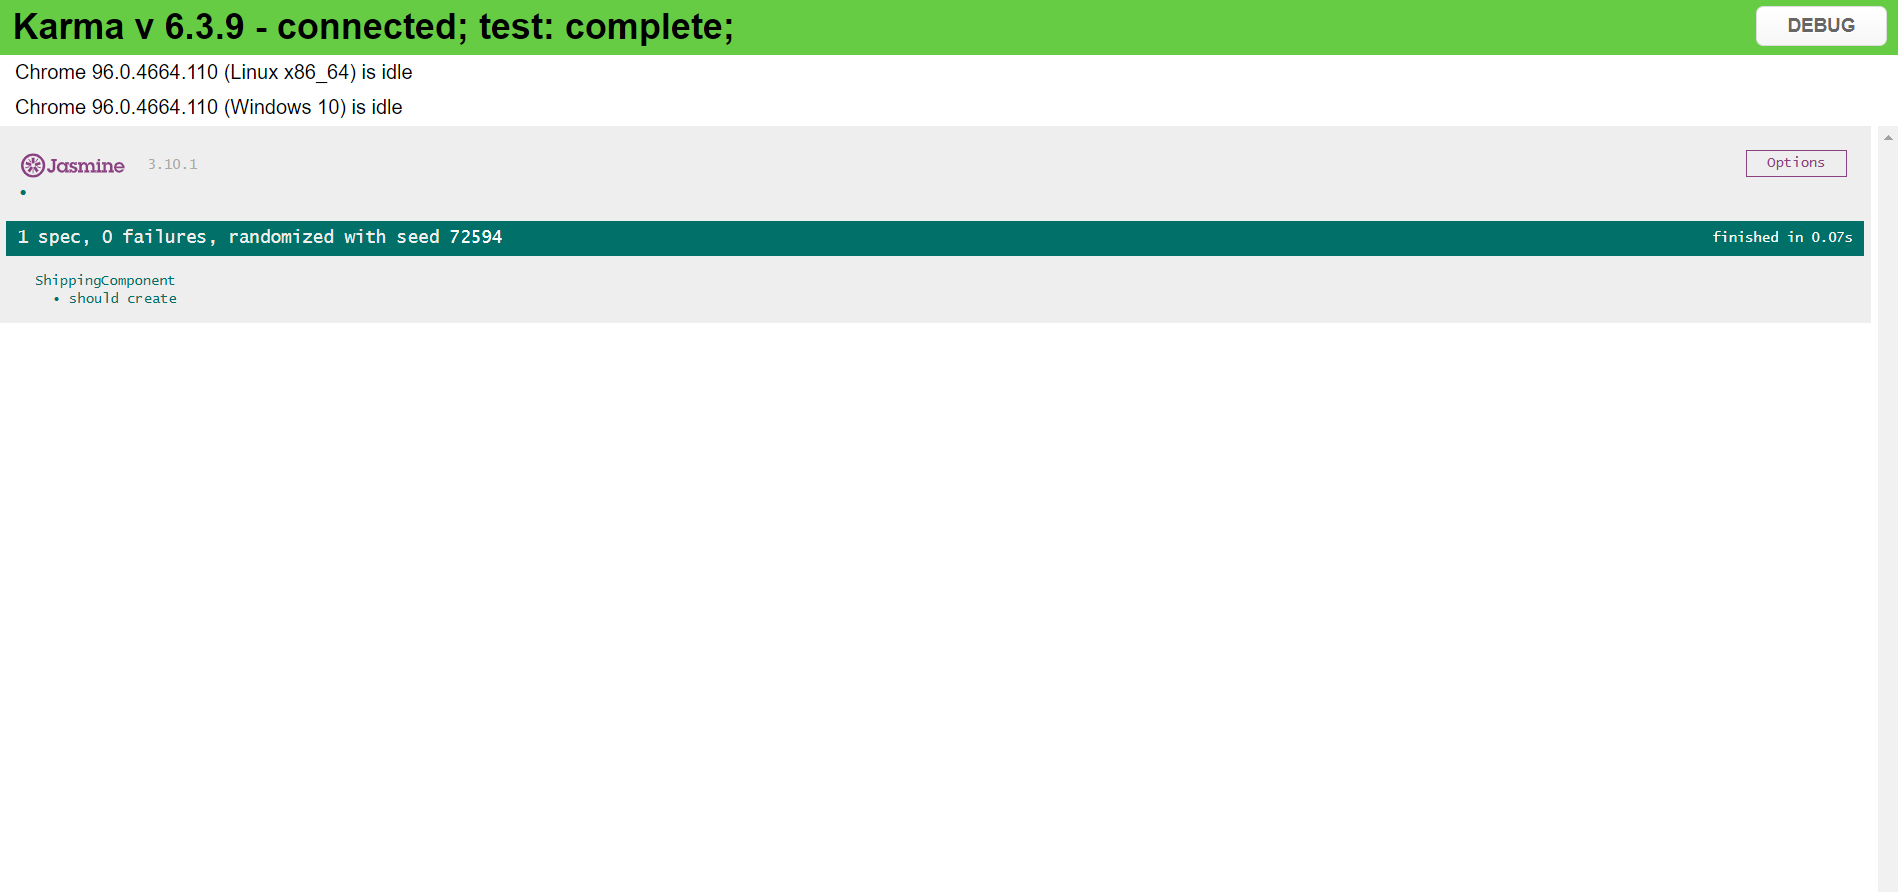
tells Angular’s CLI to compile the component and execute Karma, Angular’s test runner. Short after, Karma opens a new browser window with the test results:
Summary
This article described basic concepts common to Angular component tests:
-
The initial test skeleton created by
ng g component shippingincludes twobeforeEachblocks; one asynchronous and one synchronous. The asynchronous one configures theTestBedand compiles the component. The synchronous one creates afixtureto instantiate the component. -
The initial spec
should createverifies thatTestBedis correctly configured for instantiating the tested component. The spec fails whenTestBeddoes not include metadata to set up the component’s dependencies (i.e., services, components, directives).
![]() Thanks for reading!!!
Thanks for reading!!!